Guide to Constructing an Effective Chicken Wire Fence for Your Backyard
Building a Chicken Wire Fence A Step-by-Step Guide
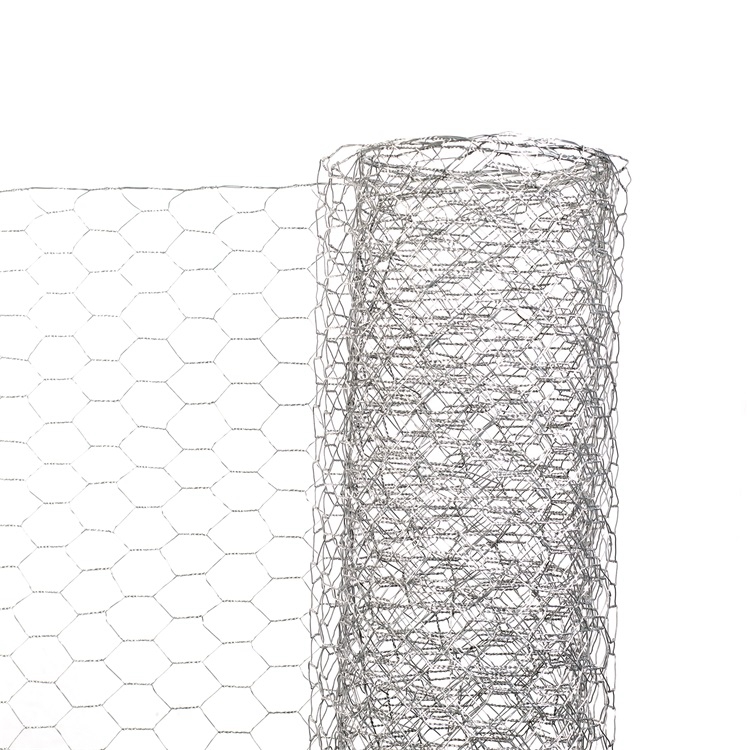
Building a chicken wire fence is an essential project for anyone looking to keep chickens safe and secure in their backyard. Not only does it provide a safe environment for your birds, but it also helps protect your garden from potential damage caused by chickens wandering around. Here’s a comprehensive guide on how to build a chicken wire fence for your chicken coop.
Step 1 Planning Your Fence
Before you start digging, it’s crucial to plan the layout of your fence. Determine the area you want to enclose by measuring the space and outlining it on paper. Consider your specific needs—do you want a simple enclosure, or do you plan on integrating a coop? Also, think about the height of the fence; chickens can fly short distances, so a taller fence may be necessary to keep them contained.
Step 2 Gather Your Materials
To build a sturdy chicken wire fence, you will need
- Chicken wire (8-foot rolls are standard) - Fence posts (wooden or metal) - Post concrete or quick-setting concrete - Wire cutters - Staple gun and staples - Measuring tape - Level - Hammer - Tensioning wire (optional for added stability)
Step 3 Marking the Posts
Using stakes or flags, mark the corners and entry points of your fence line. Be sure to position the corners at 90-degree angles for a neat enclosure. It’s best to space the posts about 6 to 8 feet apart to ensure stability in the fence.
Step 4 Installing the Fence Posts
building a chicken wire fence
Begin by digging holes for your posts. The depth of the holes should be approximately one-third of the total post height. For a fence that is 4 to 6 feet tall, aim for a hole about 2 feet deep. Place the fence posts in the holes and make sure they are vertical using a level. Pour concrete around the base of the posts to secure them and allow it to set as specified in the package instructions.
Step 5 Attaching the Chicken Wire
After the concrete has set and the posts are sturdy, it’s time to attach the chicken wire. Start at one corner and unroll the chicken wire along the fence line. Use a staple gun to secure the wire to the posts, ensuring it is taut and straight. If you’re using a tensioning wire, weave it along the top and bottom edges of the chicken wire for added strength.
Step 6 Reinforcing the Bottom
To prevent any digging predators, bury some of the chicken wire at the base of the fence or lay it flat at the bottom. This measure can deter animals like raccoons, foxes, and dogs from getting under the fence.
Step 7 Adding a Gate
If you plan to access the fenced area frequently, consider adding a gate. You can create a simple gate using a piece of wooden frame or an old door. Ensure the gate swings inward and can be securely latched to prevent accidental escapes.
Conclusion
Building a chicken wire fence is a rewarding project that not only enhances the safety of your chickens but also boosts your gardening efforts. With careful planning, sturdy materials, and diligence in installation, you can create a secure and practical enclosure for your feathered friends. Ensure routine maintenance by checking for any signs of wear or damage, and your chicken wire fence will provide years of reliable service. Happy farming!
-
The Durability and Versatility of Steel Wire
NewsJun.26,2025
-
The Best Iron Nails for Your Construction Projects
NewsJun.26,2025
-
Strengthen Your Projects with Durable Metal Stakes
NewsJun.26,2025
-
Get the Job Done Right with Duplex Nails
NewsJun.26,2025
-
Explore the Versatility and Strength of Metal Mesh
NewsJun.26,2025
-
Enhance Your Security with Razor Wire
NewsJun.26,2025


